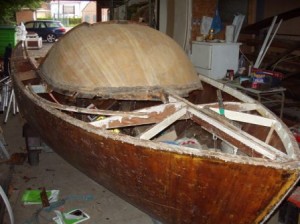
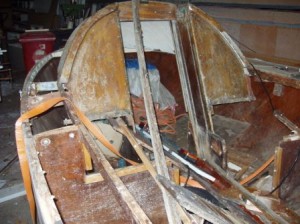
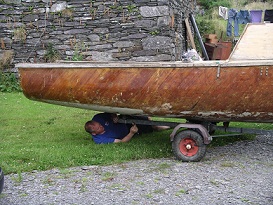
When Alella was originally built she had two dagger plates mounted either side of the cabin entrance. Over time I had realised that this was not very efficient going to windward and they had little give when hitting rocks, something we have never done! The issue was for a centreboard not to take up too much space in the cockpit and not block the cabin entrance.
After playing with Autocad for a while I managed to come up with an arrangement that I felt was a good compromise and would be largely unobtrusive in the boat.
I was also keen to use an alloy bronze centreboard having found them very easy to maintain and giving a helping hand to the righting moment whilst sailing Salcombe Yawls. As I did not get any answers when trying to purchase one from Salcombe, I approached Sweetmore Foundry in Stoke on Trent who proved very helpful. I had an old Merlin Rocket centreboard that was modified to create the pattern for the casting and this was duly sent off. A few weeks later a truck turned up with a new alloy bronze centreboard just needing a little fettling and the hinge and tackle holes drilling.
The plate weighs about 70 Kg’s so it had to be lifted with care as it made a real clatter when dropped thankfully missing my toes.
Now I had the centreboard I was able to start building the new case to accommodate it. As I had noted that most of the wood that had perished on Alella was the plywood and the solid wood still seemed ok I decided to construct the new case in solid wood. Boat building friends suggested that ply was better but I was not to be persuaded. Time will tell who is right, although I may not see the result.
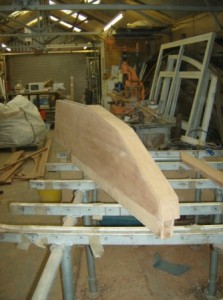
I had decided to laminate some tufnol onto the inside to take the wear of the plate being lifted and lowered. I also designed the case so that it would slot through the hog and not leave any end grain exposed. The case sides were made from three planks glued together and packing and capping pieces were also made. 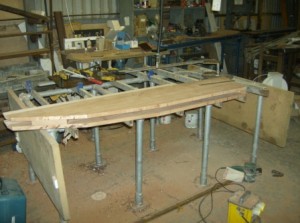 Its incredible the ease with which rebates can be cut using a surface router table. Once all the components where made the case was dry assembled to confirm it all worked and that the new plate not only fitted but would raise and lower in the case. At least this gave confidence that the general idea was sound.
The case lining was glued on first, for this I used all the weights I could find in the shed to increase the pressure on the 2mm sheets of tufnol as they were setting. Having got the tufnol glued on and sanded smooth the main assembly was glued with all the packing pieces and capping timbers. I proved the old adage that you can never have too many clamps and even used some old steel channel sections to help create tight joints.
Once the case was all glued up it was just necessary to trim and sand the case it now looking like a really nice wooden assembly, again I was struck by how satisfying creating something that looks good can be.


